
Well, it's time to letr' out! Maybe you can't DIY an entire room makeover yourself. But you can get crafty.
You're going to start with this project...
The crafty girl hat.
Then, you can wear it for all your other crafty projects.
I started out with a pile of fabric scraps, buttons, flower rosettes, & a hot glue gun.
Go gather all your favorite bits and bobs.

I also purchased this vintage-ish girl cap. I loved the frayer brim.


I try to collect little fabric items I like whenever I see them. This crocheted piece was from the thrift store.

Flower rosettes I made awhile ago and haven't used yet.


The key to the whole cuteness of the cap is the layering.
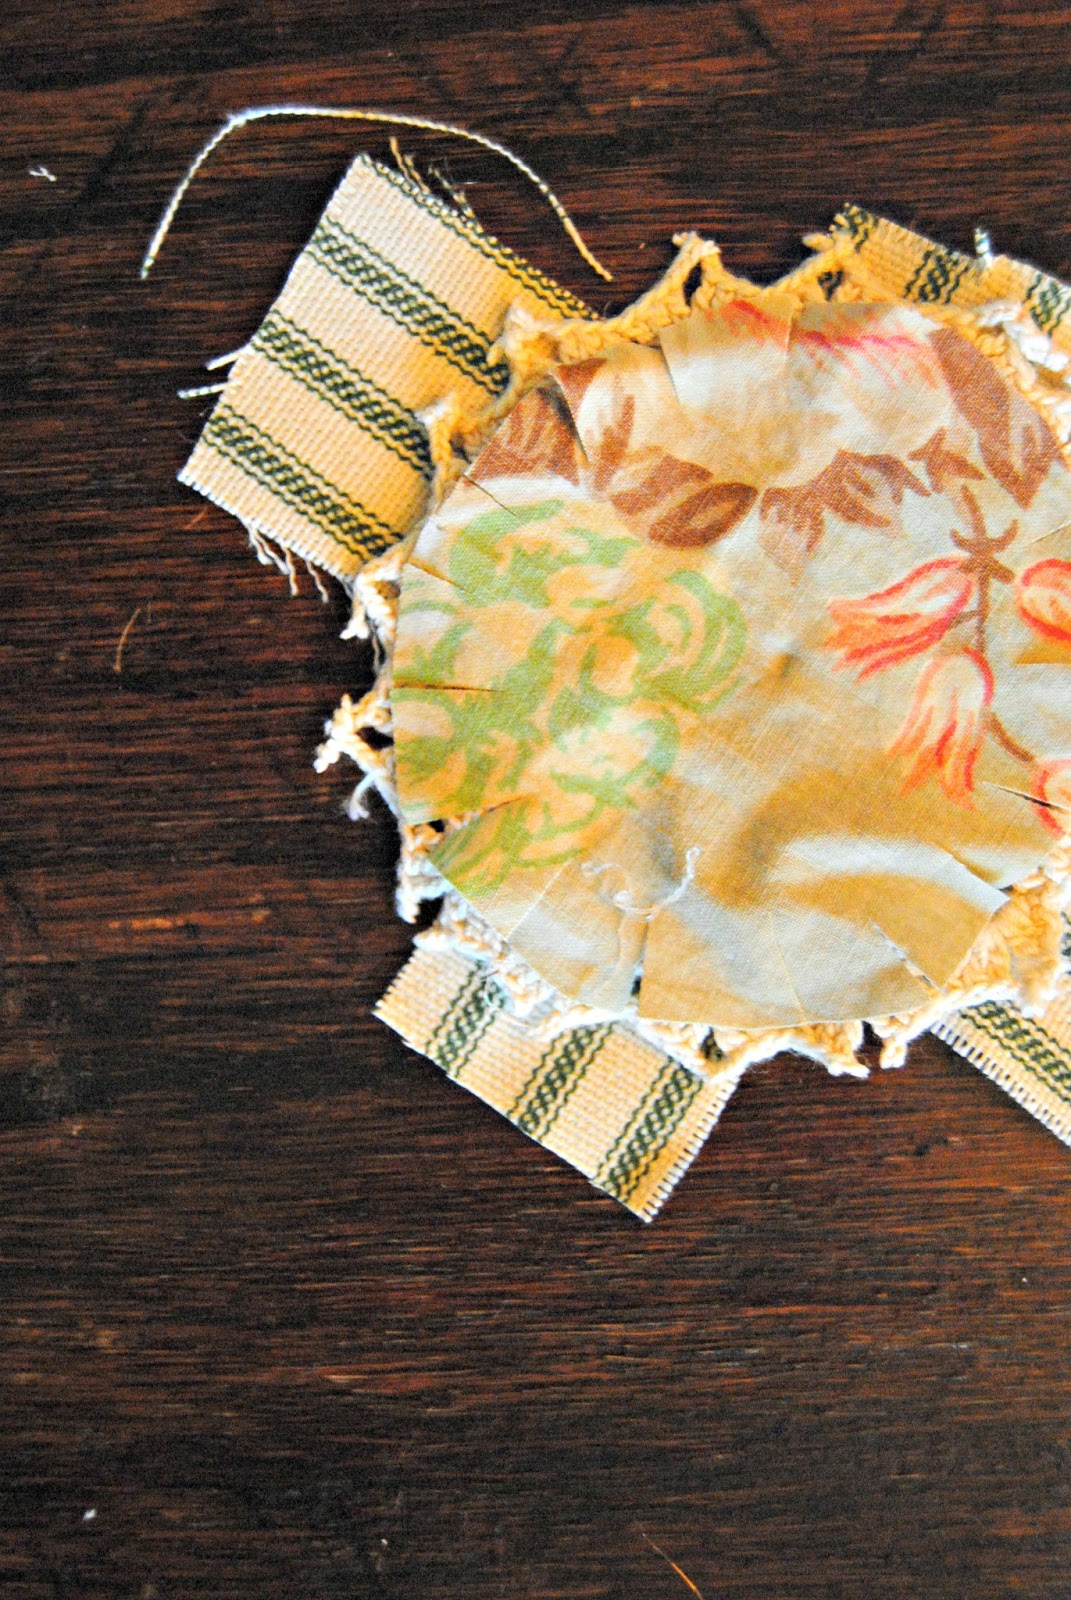
I started by cutting out one of the crocheted circles.

and a few scrapes of ticking. you can't go wrong with ticking.


All you need to attach these pieces is hot glue. You could use fabric glue, but I'm too impatient to wait for fabric glue to dry.
Once I got a good layered base, I fiddled around with the finishing touches. Trying out different looks before I committed to the hot glue.

I decided on the white button as a final topper.

Finally, you want to make sure you have the correct placement on your cap.
I like mind off to the side.
I use the spot wear the brim meats the body as a guide and glue the scrap flower above that.


Holla' you are finished! And you are CRAFTY!


0 comments:
Post a Comment